Sometimes there’s a need to clone a VM or even create a backup of a VM on Azure. In order to do this, you’ll have to create a snapshot of the disk(s) on the virtual machine. From there you can then create a disk off of the snapshot and then you’ll be able to swap the disk into another VM (for example a rescue VM or development VM). Here are the steps to do this.
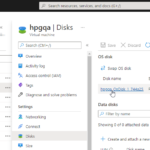
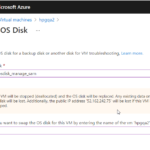
Goto the VM select the disk you want to create a snapshot of. If your VM has an OS and data disk, then you’ll have to create a snapshot of both disk if you want a true clone of the VM. Else the data disk will do. In this example, the data and the OS are on the same disk under the OS disk.
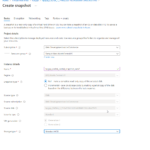
You will then have the option to click a snapshot. The storage type can be standard when creating a snapshot which would be cheaper.
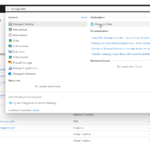
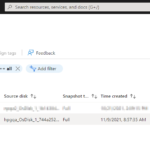
Once the snapshot has been created, you can check on the snapshot by searching for “snapshot” in the search. Once you confirm that the snapshot has finish being created, in order for it to be usable in a VM, you will have to convert it to a managed disk. To do this, search for “managed disk” and click on what shows up under Marketplace as shown below, or search “disks” and click on disks that shows up under Services.
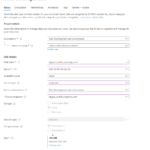
If you go through the Marketplace option you’ll be taken straight to the screen that allows you to create a new disk. In the Services option, you’ll take another step by clicking on the Create link in the navigation. Below is an example form fill out for creating a managed disk. The key is selecting your newly created snapshot under Source snapshot.
Now that a managed disk is created. By repeating the first step where you go to the VM’s disk area, you can now swap out any disk with the managed disk you created.
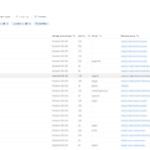
By searching for “disks” and “snapshot” you can see all the managed disks and snapshots you have under your account. Just remember to delete snapshots and disks when you’re finished with them to keep costs down.
Additional resource: https://getanadmin.com/azure/how-to-easily-clone-a-virtual-machine-in-azure/
Comments (0)